
How to Cut a Bob: A Step-by-Step Guide for Stylists
The bob never goes out of fashion. From the sharp, graphic lines clients screenshot off Pinterest to the soft, lived-in French bob, it’s one of the most requested cuts in any salon — and one of the most revealing. A great bob is all precision: there’s nowhere to hide a wandering perimeter or a line that doesn’t balance. So whether you’re an assistant working towards your first solo bob or an experienced stylist sharpening your detailing, this guide walks through the fundamentals every bob is built on, then the main variations worth having in your repertoire.

Why the bob is worth mastering
Bobs are bread-and-butter salon work that never dries up — they’re requested year-round, they rebook every six to eight weeks, and a clean one becomes the cut clients recommend you for. Because the shape is so exposed, it’s also where your precision shows. Get bobs consistently sharp and you build a reputation faster than almost any other cut.
Step 1: Read the hair before you pick up your scissors
Every great bob starts in the consultation, not the first section. Before you cut, assess three things. Density — how much hair, and where it sits heaviest, in front of and behind the ears. Texture — what looks like straight hair can carry a little movement once you shade it, and that movement changes everything about where weight and layers should go. And the head shape — you’ll use its natural curvature to place your sections accurately. Finally, agree the line with your client: do they want a strong, blunt weight line, or something softer and descending? Decide that now and the whole cut has direction.
Step 2: Section with intention
Clean sectioning is what separates a precise bob from an average one. Start with a centre parting and build four clean sections: a profile parting from the forehead to the nape, and a radial parting from the top of the head to the top of the ears. A simple pro tip for placing that radial line: rest your comb on the head and follow the curve — the point where the head shape starts to fall away from the comb is where your section wants to sit. Think of it this way: everything sitting below the curvature of the head is your perimeter — that’s your weight and your precision line. Everything above it is where any internal layering will live. Isolating those zones cleanly before you cut means you protect the perimeter while you work, and you always know exactly where you are.
Step 3: Establish your perimeter
Your perimeter is the backbone of the bob, so build it carefully. Start at the centre back and set a clean baseline, working in diagonal-forward sections out towards the face. Keep your tension even and your body position square to the section — most uneven bobs come from inconsistent tension or twisting your stance, not from the scissors. Take your time, and cross-check both sides against each other constantly so the line stays balanced as you move around the head.
Step 4: Add internal layers only where the hair needs them
Layering on a bob should be a decision, not a habit. On fine-but-dense or slightly wavy hair, soft internal layers through the top section add movement and stop the shape feeling heavy — without sacrificing the strong perimeter underneath. On finer ends, you’ll often do the opposite and keep the weight. The rule of thumb: layer to the shape you and your client agreed on, concentrating movement where there’s density to support it, and leave the perimeter full.
Step 5: Personalise the finish
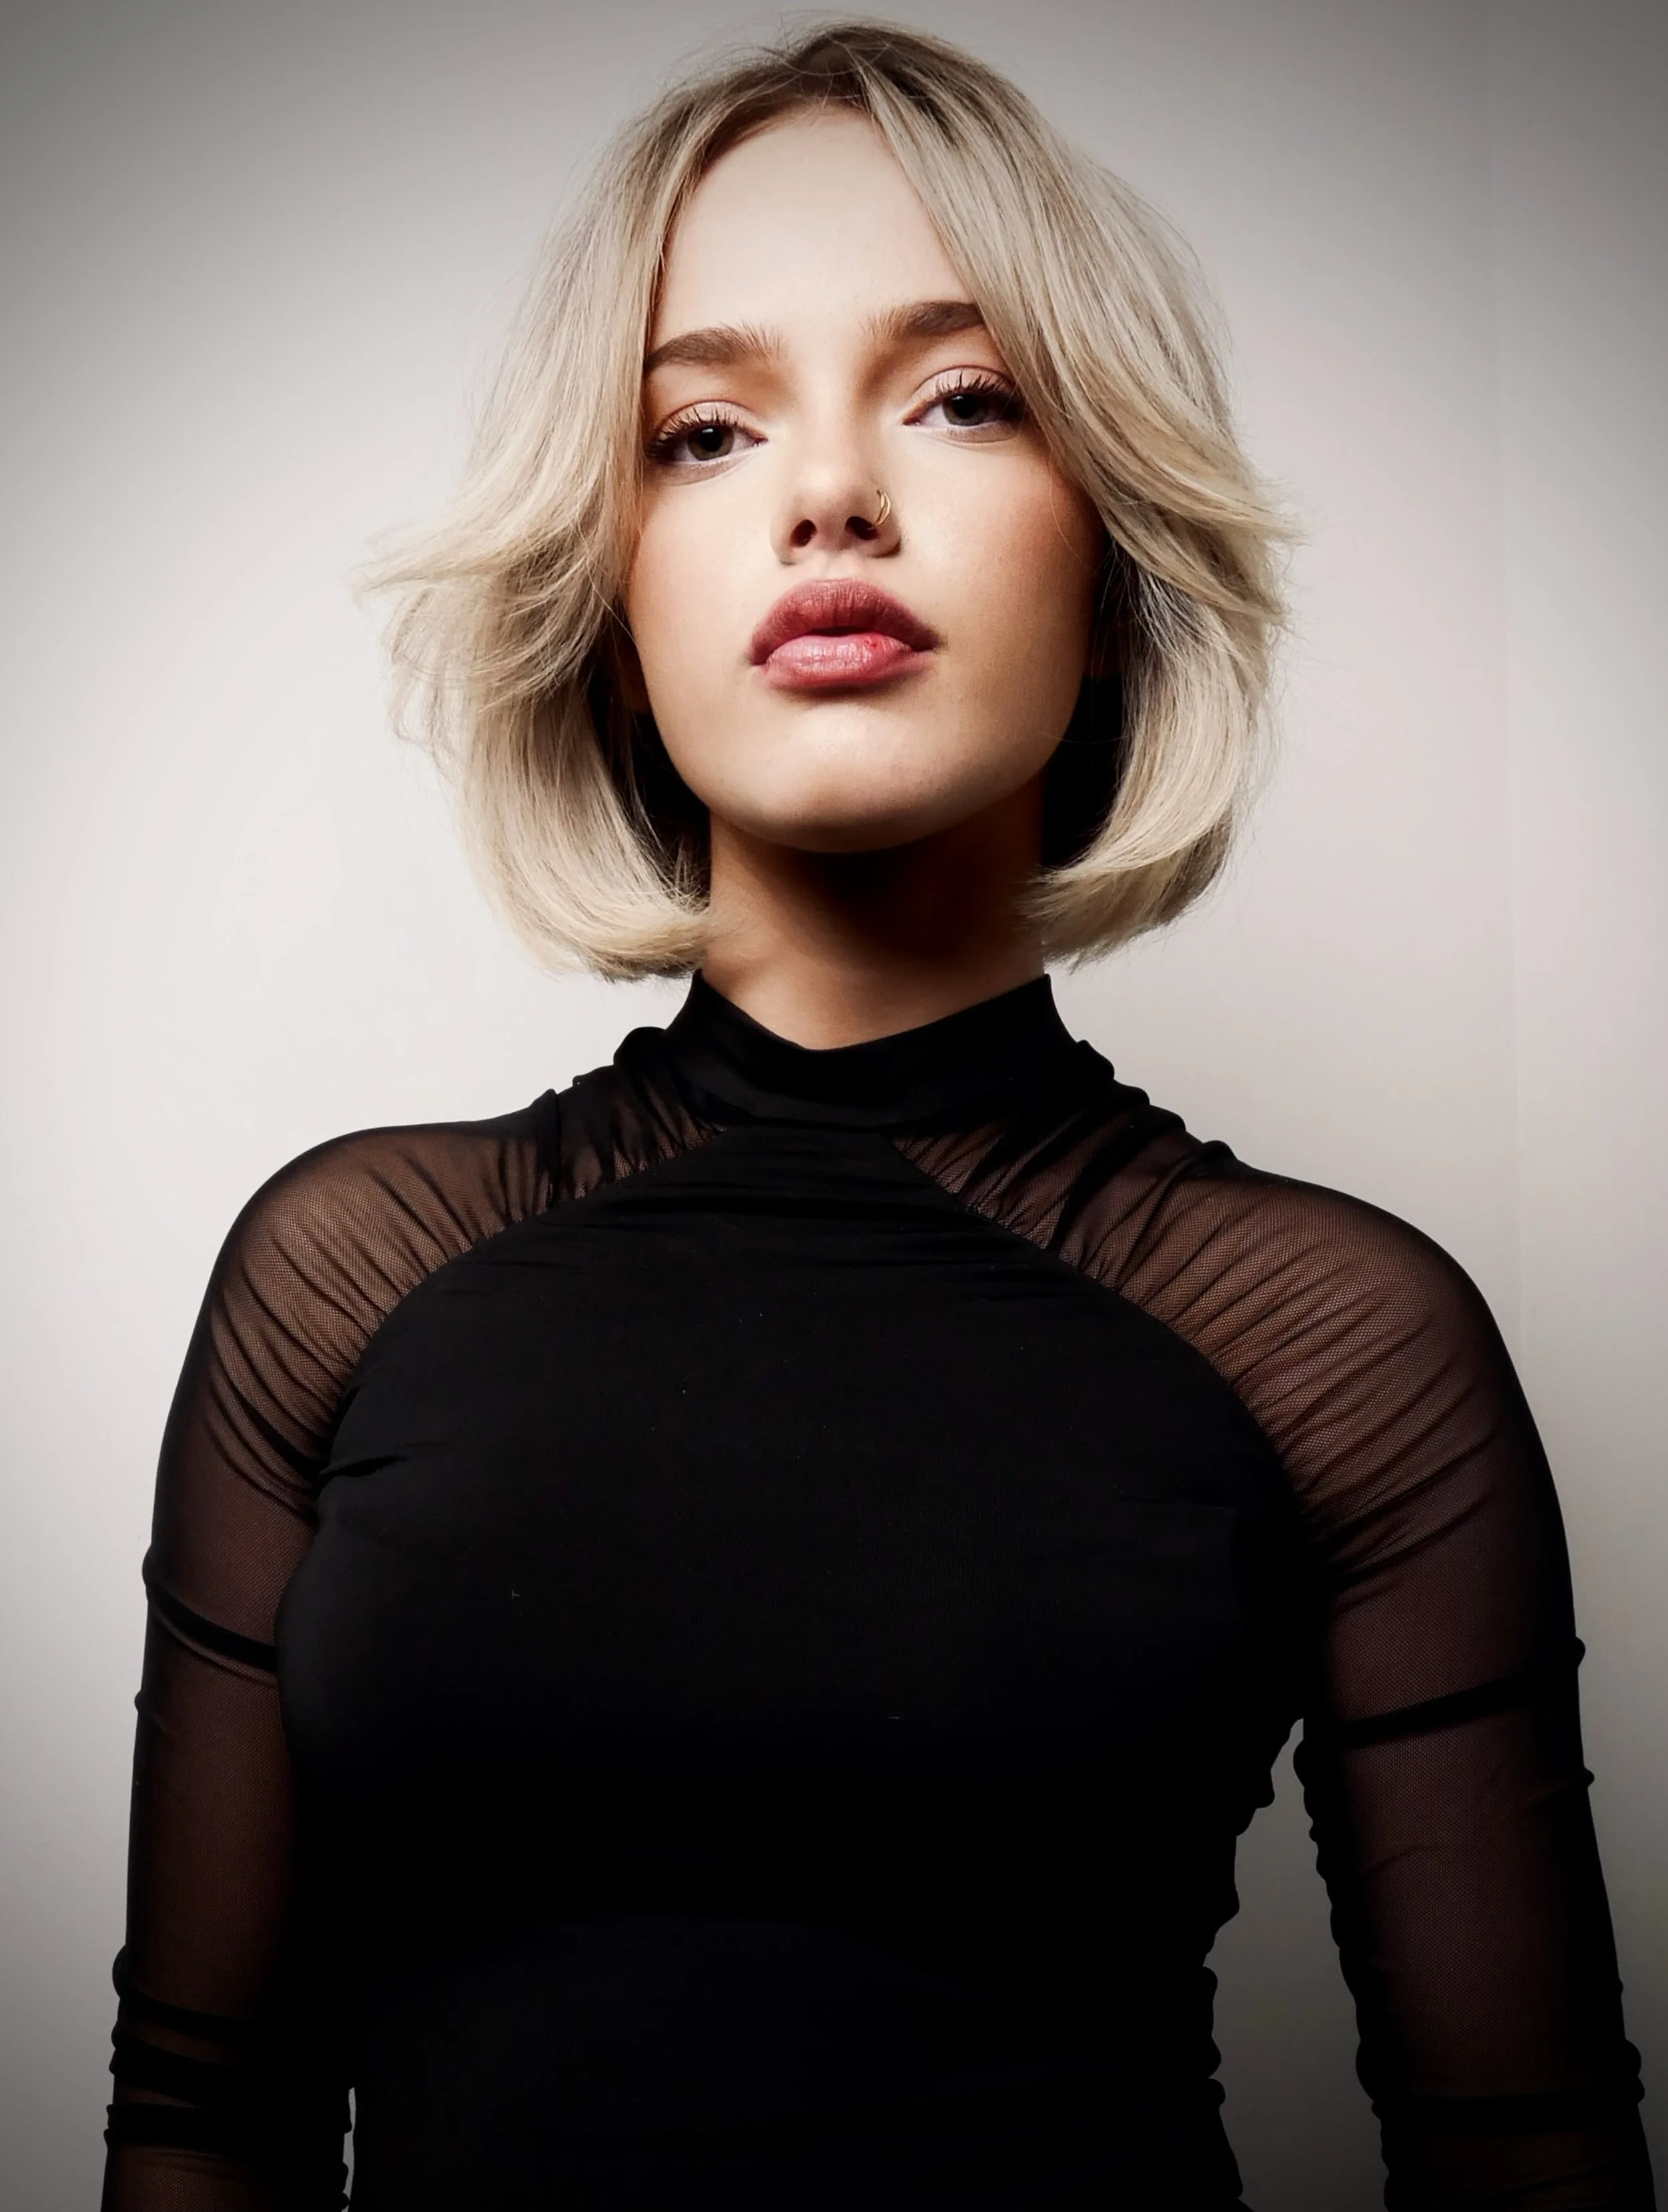
This is where a good bob becomes their bob. Face-framing is the most-requested finishing touch — a softer, descending line around the face flatters almost everyone and is often the detail clients fall in love with. Refine, cross-check your balance one last time, then dry and dress the hair to show off the line. Always finish by checking the shape in movement, not just flat.
The bob variations every stylist should know
Once the fundamentals are solid, these four variations cover almost everything clients ask for. Each is taught in full, step by step, on Hairdressing Live:
• The Classic French Bob (Paul Davey) — timeless and effortless, with a centre parting and a subtly descending line (a little shorter at the front, longer towards the back). Watch the French Bob masterclass.
• The Italian Bob (Federico Patelli) — a precise perimeter with subtle internal layers, ideal for fine-to-medium, slightly wavy hair that needs movement without losing weight. Watch the Italian Bob masterclass.
• Square Layer on a Bob (Paul Davey) — how to build weight and shape on finer, shoulder-length hair in a real salon scenario. Watch the Square Layer on a Bob masterclass.
• Face-Framing Layers on a Bob — the commercial, wearable face-framing clients ask for again and again. Watch the Face-Framing Layers on a Bob masterclass.
Common bob mistakes to avoid
• Cutting before you’ve properly assessed density and texture.
• Inconsistent tension or over-stretching wet hair, which throws the line off as it dries.
• Over-layering and losing the perimeter weight that gives a bob its strength.
• Letting your body position twist, so the two sides don’t match.
• Forgetting to cross-check balance and to check the shape in movement before you finish.
Watch it done, step by step
Reading about a bob only gets you so far — the real learning is watching the angle, the tension and the sectioning happen in real time, then pausing and rewinding until it clicks. On Hairdressing Live, you can watch full step-by-step bob masterclasses from Paul Davey, Federico Patelli and more of the world’s leading educators, on any device, from €25/month.