
Balayage: Methods, Mistakes and How to Get It Right Every Time
Balayage is everywhere. It's been the most requested colour service in salons across the world for over a decade, and yet it remains one of the most misunderstood techniques, both by clients who ask for it and by stylists who offer it.
This is the post that covers everything. Where it came from, how it works, which method to choose, how to apply it faster without losing quality, and the mistakes that are costing stylists results they should be proud of.
Where Balayage Came From

The word balayage comes from the French verb balaier - to sweep. The technique was developed in Paris in the 1970s, largely attributed to the work of colourists at the Jacques Dessange salon, who were looking for a way to replicate the natural, sun-lightened effect that chemical colour processes at the time couldn't achieve.
The idea was simple but revolutionary: instead of isolating sections of hair in foil from root to tip, you paint the lightener freehand onto the surface of the hair, concentrating colour where the sun would naturally hit it - the mid-lengths, the ends, and around the face. The root stays darker. The transition is soft. The result looks like it grew that way.
For decades it remained a largely European technique, known within professional circles but not widely practised. Then social media changed everything. By the mid-2010s, balayage had become the most Googled hair technique in the world, and salons everywhere scrambled to learn it properly.
Some did. Many didn't. Which is why there's still a significant gap between balayage done well and balayage done badly sitting in salons every day.
Understanding the Technique
At its core, balayage is a freehand lightening technique applied to the surface of the hair without the full isolation of foil. But that single sentence covers an enormous range of approaches, results and skill levels.
What makes balayage technically demanding is that there are no rigid rules to follow. Unlike a foil highlight where the placement is systematic and consistent, every balayage application is a creative decision. Where you place the lightener, how much you apply, how far up the root you take it, how you feather the edges, all of it is down to your eye, your judgment and your understanding of how the hair will lift.
The variables that shape every balayage application:
Hair type and texture: fine hair lifts faster and can over-process quickly. Thick or coarse hair requires more product saturation and longer processing time. Wavy and curly hair needs careful placement to work with the curl pattern rather than fight it.
Starting colour: the darker the base, the more sessions the client may need to reach their goal. Managing this expectation at the consultation is everything.
Desired result: a subtle, sun-kissed finish requires a very different approach to a high-contrast, dramatic balayage. Know the destination before you start painting.
Which Method to Choose
This is where many stylists get stuck, and where the quality of your results either lifts significantly or stays frustratingly inconsistent.
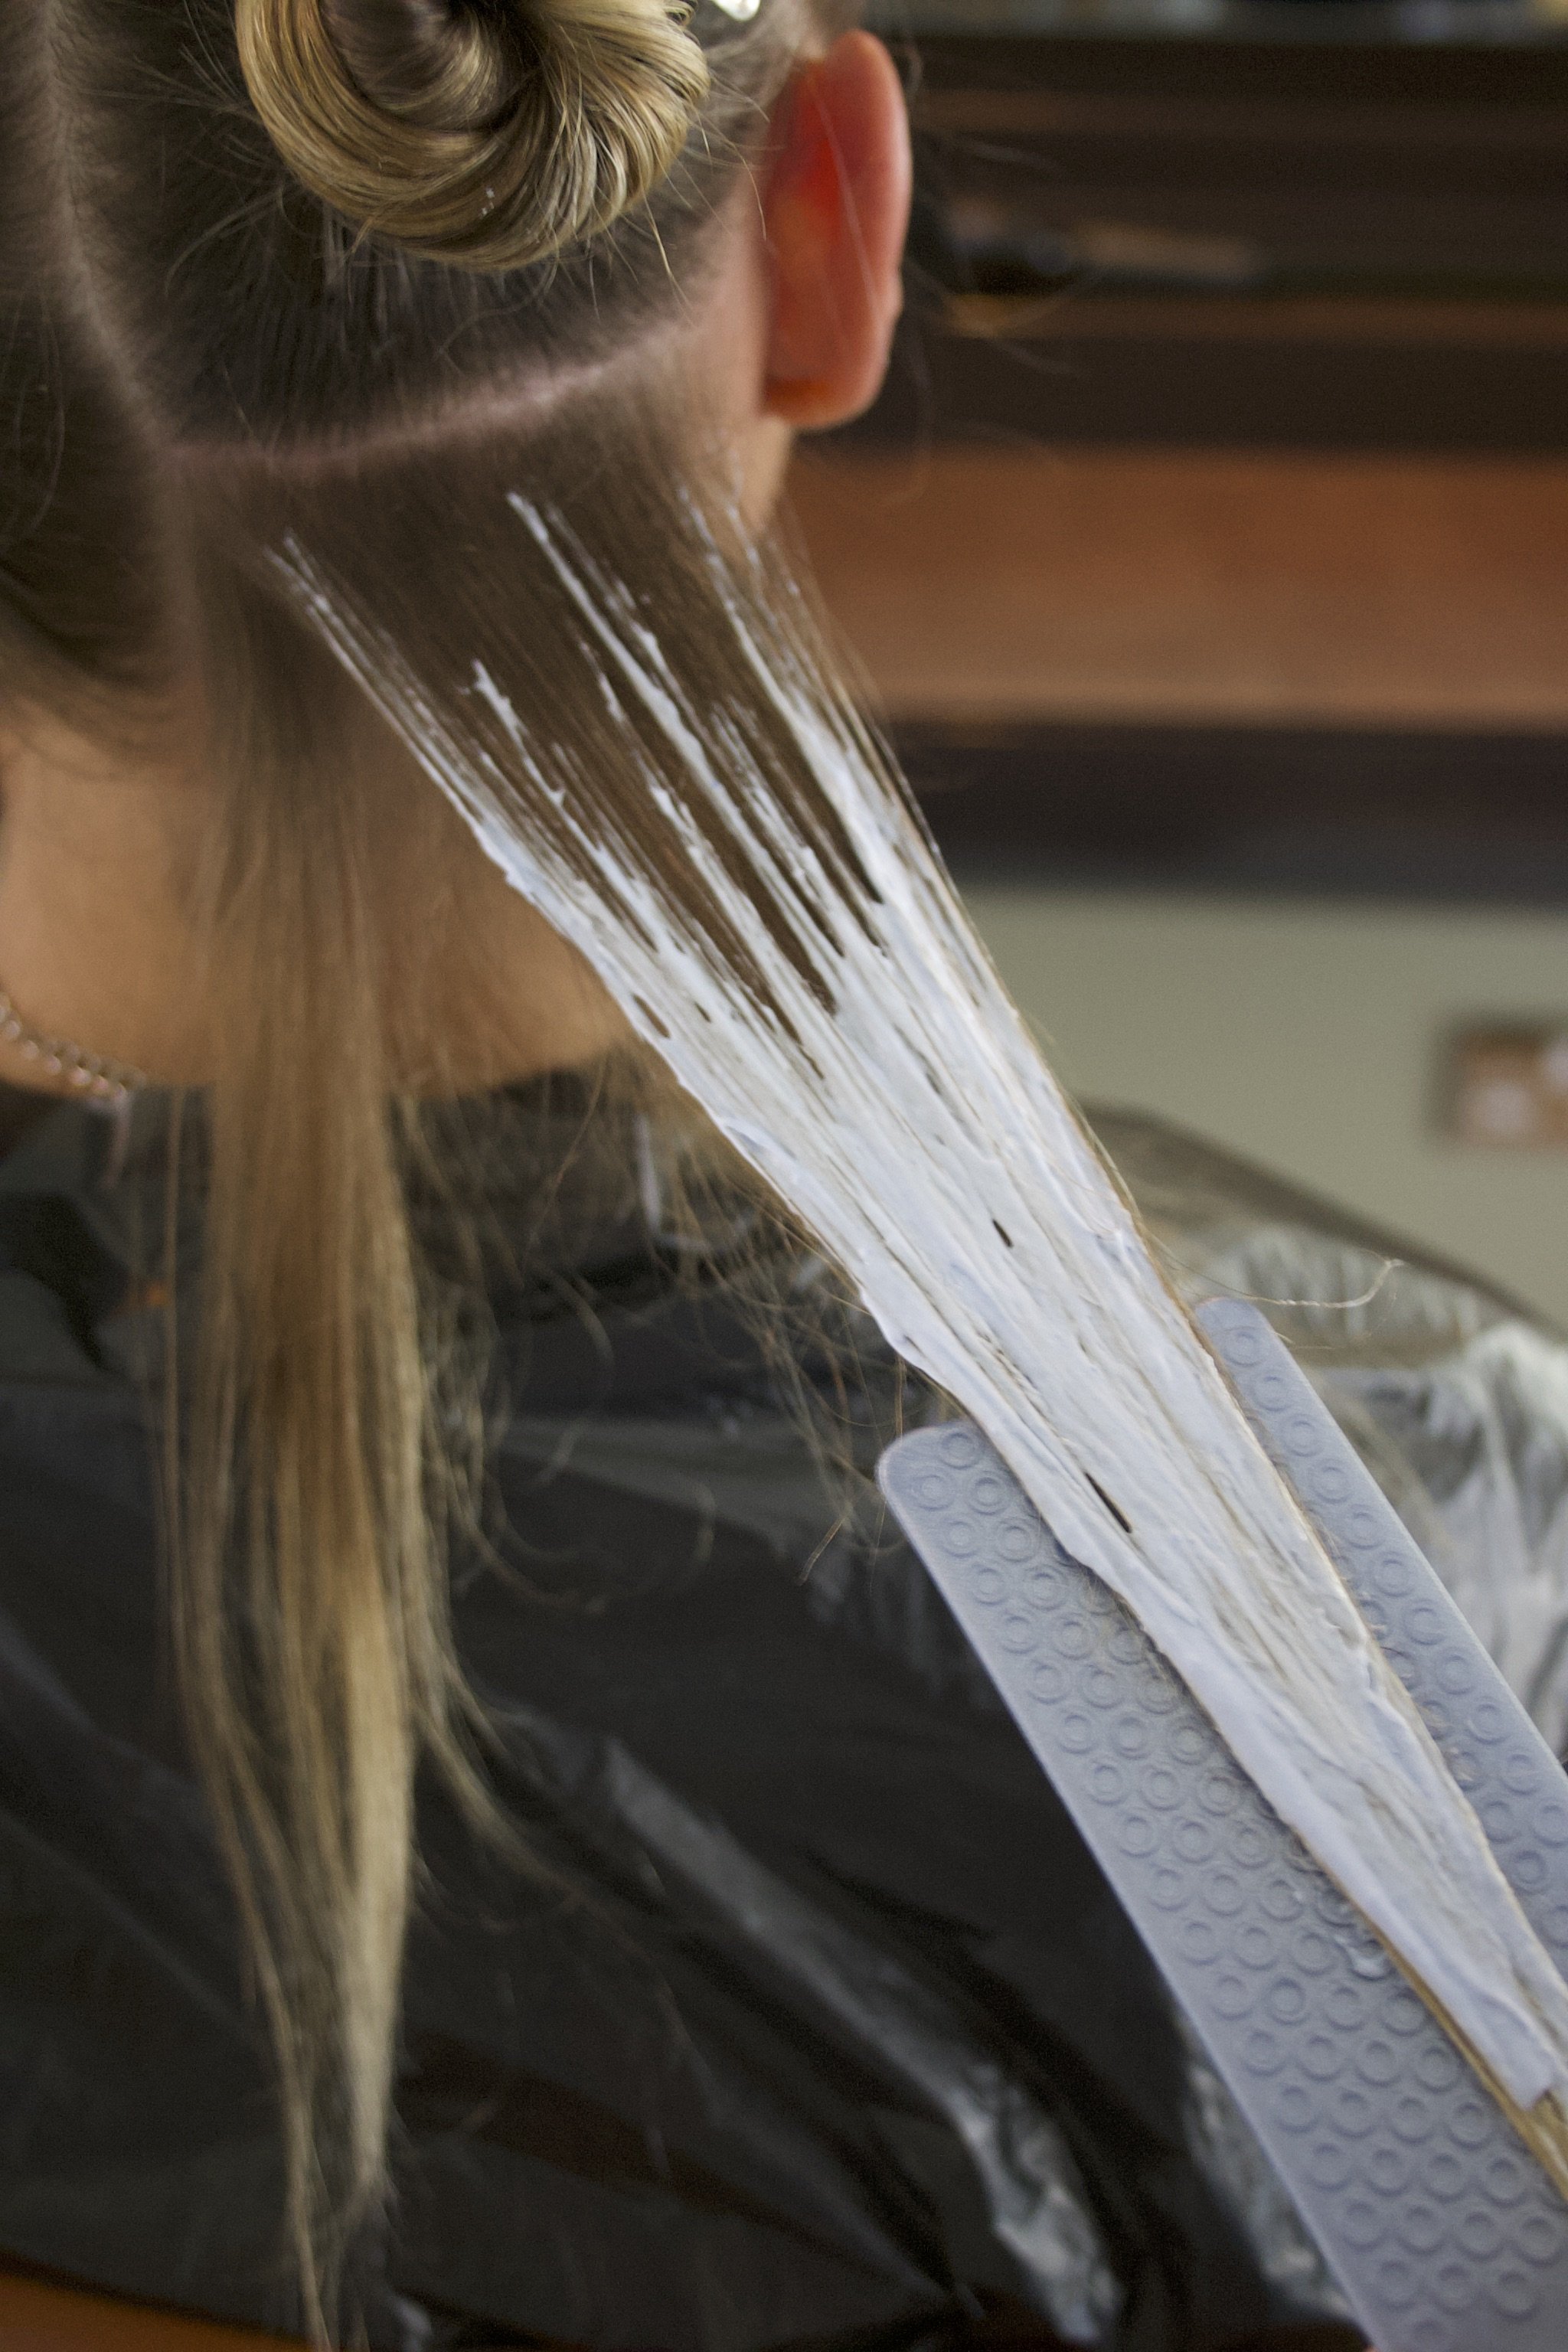
Open air balayage The traditional method. Lightener is painted onto the hair and left exposed to the air to process. The benefit is a very soft, diffused result with a gradual fade from dark to light. The limitation is that open air processing is slower and can be harder to control on very thick or resistant hair types. Best for: fine to medium hair, clients wanting a natural, subtle result, lighter starting bases.
Foil balayage (foilyage) A hybrid technique where the painted sections are placed into foils after application. The foil creates heat, speeds up the lifting process, and produces a more saturated, higher-contrast result than open air. It also gives you more control over placement and prevents the lightener from affecting sections you haven't painted. Best for: thick or resistant hair, clients wanting a more dramatic result, darker starting bases where you need maximum lift.
Stretch balayage A method that uses a tint or gloss to extend and darken the root area before the balayage is applied, creating a deeper, more defined root shadow. This is particularly effective when the client has regrowth that needs to be blended, or when you want to create a stronger contrast between root and mid-length. Best for: clients transitioning from heavy all-over colour, or anyone wanting that deep root, bright end contrast.
Cotton or barrier method Cotton strips or a barrier product are placed at the root of each section before painting to create a crisp demarcation line at the root and prevent any unwanted bleeding upward. Best for: precise root placement, very dark bases where any lightener creeping to the root would be visible, or when the client specifically wants a strong root shadow.
Choosing the right method isn't about preference — it's about the client's hair, their base colour, their desired result and their maintenance expectations. The best balayage stylists aren't loyal to one method. They're fluent in all of them.
Tips to Speed Up Your Balayage Application
A balayage service that takes four hours is not a profitable service. These techniques reduce application time without compromising the result.
Map it before you paint it Before you pick up the brush, section the hair and plan your placement. Know which sections you're painting, which you're leaving, and what the finished distribution should look like from every angle. Stylists who plan first and paint second work significantly faster than those who make decisions on the go.
Work in larger sections on thicker hair Fine hair requires smaller, more precise sections to avoid over-saturation. Thick hair can be worked in larger sections without losing control of the result. Match your section size to the hair type rather than using the same approach on every client.
Use a brush that works for you A wide, flat brush covers more surface area per stroke and speeds up application on longer hair. A smaller, more tapered brush gives precision on shorter lengths or around the face. Having both available and switching between them depending on the section saves time across the whole application.
Back-to-back saturation Rather than painting each section and moving on, consider painting two or three sections in quick succession before going back to feather and blend the edges. This keeps your rhythm and allows each section a moment to settle before you refine it.

Common Balayage Mistakes and How to Fix Them
Mistake 1: Starting too close to the root Taking lightener too high up the root is one of the most common balayage errors - especially among stylists transitioning from a foil highlight background. The result is a harsh line rather than a soft graduation, and it defeats the entire purpose of the technique.
Fix: Be deliberate about where you place your brush at the start of each stroke. The root should be your darkest point. If you're unsure, leave more root than you think you need to - you can always adjust on a future appointment.
Mistake 2: Uneven saturation Patchy, uneven results almost always come from inconsistent product saturation across the section. Some areas lift beautifully, others stay stubbornly dark.
Fix: Work through each section methodically, applying consistent pressure with the brush from edge to edge. After painting, check the section from underneath as well as the surface - particularly on thicker hair where the underside can be missed entirely.
Mistake 3: Not accounting for heat distribution The areas of the head that generate the most heat, the top sections, around the ears, and the nape, will lift faster than the mid-sections. Painting every section with the same product and leaving for the same time will give you an uneven result.
Fix: Apply lightener to your slowest-lifting sections first and your fastest-lifting sections last. This staggers the processing time naturally and gives you a more even lift across the whole head.
Mistake 4: Neglecting the hairline and face frame Clients look at their face first - always. A beautifully executed balayage through the back and sides that hasn't been carried through to the face frame will look unfinished and disconnected, even if the rest of the application is technically excellent.
Fix: Give the face frame the same attention and care as the rest of the application. In many cases, spend more time here - it's what the client sees in the mirror every morning.
Balayage is not a technique you learn once and master. It's a skill that develops with every head of hair — every different base, every different texture, every different result the client is after. The stylists who do it best are the ones who stay curious about it, who study it continually, and who understand that the technical execution is only as good as the creative judgment behind it.
Explore our Lived-In Colour Collection for a focused bundle covering the most in-demand colour looks right now.